Bright pixels → thin walls
Light areas in your photo become the thinnest sections of the panel, allowing maximum light transmission.
 STL Buddy
Turn any photo into a glowing 3D lithophane. Our free lithophane maker converts images into grayscale STL files — upload a JPG or PNG, download a printable mesh, and backlight it for stunning lit 3D prints.
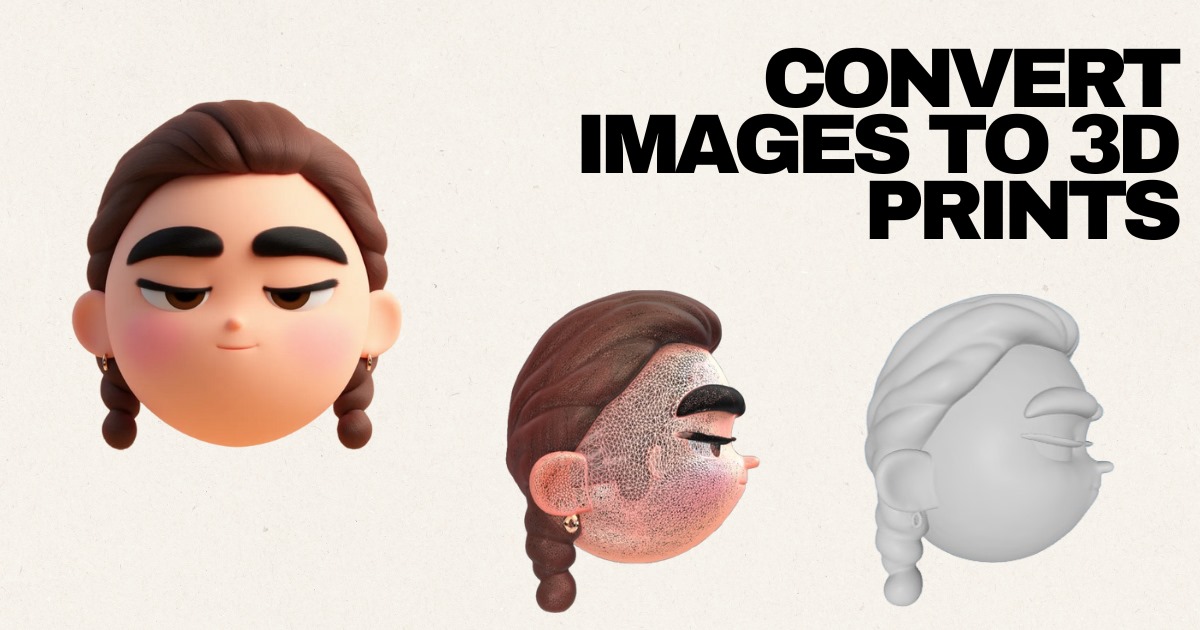
Upload any photo to generate a 3D lithophane model. Works best with high-contrast portraits, pets, and landscapes. No account required to preview — sign in to download your STL.
Drag & Drop your photo here
or click to choose a file — JPG, PNG up to 10MB
A lithophane is a thin, sculpted panel where image brightness maps to plastic thickness. When you shine light through from behind, thicker sections block more light (dark tones) and thinner sections glow (bright tones). The result is a photograph that appears only when illuminated — a technique dating back to 19th-century porcelain, now accessible through 3D printing.
Light areas in your photo become the thinnest sections of the panel, allowing maximum light transmission.
Shadow and dark tones become thicker plastic that blocks light, creating the dark areas of the revealed image.
Without backlighting, a lithophane looks like plain white plastic. An LED strip, lamp, or window light brings the image to life.
Lithophanes use a fundamentally different design approach than typical 3D models. Understanding the difference helps you choose the right project type and slicer settings.
| Feature | Lithophane | Standard 3D Print |
|---|---|---|
| Image source | 2D photo brightness → wall thickness | 3D CAD model or scanned geometry |
| Visible detail | Only when backlit | Visible from all angles under normal light |
| Infill | 100% solid for even light diffusion | Typically 10–20% to save material |
| Best filament | White PLA or white resin | Any color or material for the application |
| Print orientation | Vertical (on edge) for best resolution | Optimized per model geometry |
Image quality before conversion has the biggest impact on your finished lithophane. Apply these resolution, contrast, and color optimization tips before uploading to the photo to STL converter.
Resolution: 1000+ pixels on the long edge
Higher pixel count gives the converter more data for facial features, fur texture, and fine details in the final lithophane.
Boost contrast before uploading
Darken shadows and brighten highlights in any photo editor. Lithophanes rely on brightness-to-thickness mapping — flat images produce muddy results.
Convert to grayscale mentally
Lithophanes are monochrome by nature. Color information is discarded during conversion. Choose photos with strong light-and-shadow separation rather than vivid color contrast.
Crop to the subject
Remove empty background so detail concentrates on what you want visible when lit. Tight crops also reduce print time and filament use.
Avoid heavy JPEG compression
Blocky compression artifacts translate to bumpy surfaces in the STL mesh. Use the original, highest-quality file whenever possible.
STL Buddy's lithophane generator reads your photo's grayscale values and extrudes them into a watertight STL mesh. Here is the workflow and the key parameters that control how your lithophane looks when lit.
Drag a JPG or PNG into the generator above. The tool accepts images up to 10 MB.
The converter maps pixel brightness to wall thickness and outputs a watertight STL file ready for your slicer.
Import the STL into Cura, PrusaSlicer, or Bambu Studio. Set 100% infill, 0.12 mm layers, and vertical orientation.
| Parameter | Recommended range | Notes |
|---|---|---|
| Minimum thickness (dark areas) | 0.4–0.8 mm | Thinnest sections let the most light through |
| Maximum thickness (bright areas) | 2.5–4.0 mm | Thicker sections block light for dark tones |
| Overall panel size | 80–150 mm wide | Common sizes for night lights and frames |
| Base/frame border | 3–5 mm flat rim | Optional flat border for mounting in a frame |
The thickness range between your lightest and darkest tones determines lithophane contrast. Too narrow a range washes out the image; too wide can make thin sections fragile or hard to print.
Minimum thickness: 0.6–0.8 mm (2–3 layers at 0.2 mm). Maximum thickness: 3.0–4.0 mm. A 3 mm total range works well for night-light-sized panels (80–120 mm wide). Use 100% infill so internal structure does not create uneven light spots.
Minimum thickness: 0.4–0.6 mm — resin achieves finer detail at thinner walls. Maximum thickness: 2.0–3.0 mm. Overall panels can be thinner than FDM equivalents while retaining sharp detail. Print vertically with light supports on the base edge only.
Correct slicer settings make the difference between a crisp, glowing lithophane and a muddy slab of plastic. Use these starting points for FDM and resin workflows.
| Setting | Value | Why |
|---|---|---|
| Layer height | 0.12–0.16 mm | Finer layers improve image detail on the Z axis |
| Infill | 100% | Solid infill ensures consistent light diffusion |
| Perimeters / walls | 1–2 | Single-wall printing maximizes thickness variation |
| Orientation | Vertical (on edge) | Best resolution; layer lines align with image detail |
| Filament | White PLA | Optimal light diffusion and contrast |
| Speed | 30–50 mm/s | Slower speeds reduce artifacts on thin walls |
| Setting | Value | Why |
|---|---|---|
| Layer height | 0.05 mm | Resin excels at fine lithophane detail |
| Exposure time | Follow resin profile | Thin walls need precise curing to avoid blow-through |
| Orientation | Vertical with supports on base | Minimizes support marks on the visible face |
| Material | White or natural resin | Same light-diffusion principle as white PLA |
New to 3D printing? Read our beginner's guide or see best 3D printers for beginners .
Cause: Light source too bright, or thickness range too narrow.
Fix: Dim the LED, increase max thickness in settings, or re-edit the photo for higher contrast.
Cause: Low-contrast source photo or colored filament.
Fix: Boost contrast before upload. Switch to white PLA. Verify min thickness is below 1 mm.
Cause: Layer height too coarse or printed flat instead of vertically.
Fix: Reprint at 0.12 mm layers in vertical orientation.
Cause: Large flat lithophanes without brim, or drafty print area.
Fix: Add a 5–10 mm brim. Use an enclosure. Print smaller test pieces first.
Cause: JPEG compression artifacts or noisy source image.
Fix: Use a higher-quality source file. Apply slight blur or noise reduction before upload.
See how different photos transform into beautiful backlit lithophanes — from portraits and pets to landscapes and gifts.
Source: Family photo
Source: Pet photo

Source: Landscape photo
Source: Wedding photo
Photo to STL
Convert any picture into a 3D relief for printing.
JPG to STL Converter
Upload a .jpg photo and download a printable STL file.
JPG to STL Photo Guide
Step-by-step guide for turning portrait photos into STL files.
Lithophane Maker
Alternative lithophane tool page with quick upload workflow.
Common questions about creating 3D printable lithophanes from photos.
Upload a photo to STL Buddy's free lithophane generator and download a 3D-printable STL in minutes. Turn your favorite images into glowing gifts, night lights, and wall art.